A few weeks ago, we did mention on a blog post that we tested our Gyrochute in a vertical wind tunnel.

But, we didn’t really give details about what happened.
Well, you’re in luck because today, we are going to break down about what happened.
Let’s begin with why we choose iFly in the first place.
What Is iFly
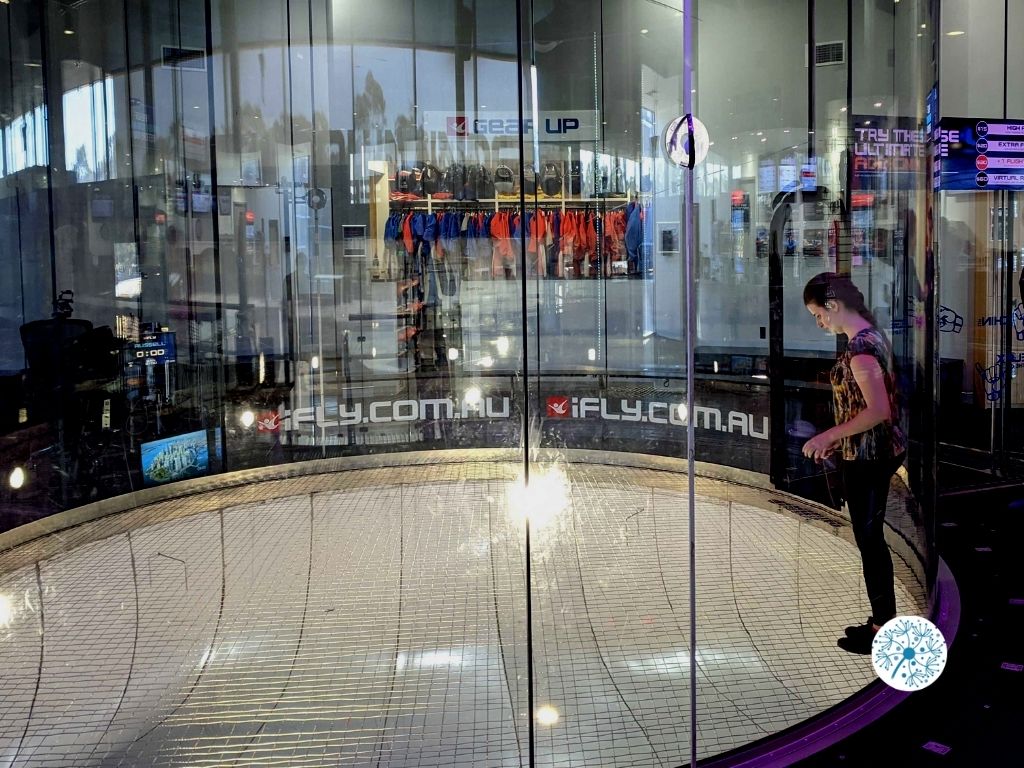
IFly is an indoor skydiving facility with vertical flight chambers where massive wind generators can lift you effortlessly into flight on a cushion of air.
So, what is the Gyrochute doing in an indoor skydiving facility…?
Originally, researchers would use a wind tunnel to learn more about how an aircraft will fly. The wind tunnel works perfectly when the object tested is meant to move horizontally. However, the Gyrochute is meant to be dropped from the sky. Therefore, the normal wind tunnel will not allow us to test our vehicle properly.

This is what led us to iFly’s indoor vertical wind tunnel.
IFly’s vertical wind tunnel allowed us to monitor the Gyrochute’s behaviour in a vertical air column, essentially simulating its behaviour when it would be falling through the sky.
Another reason why we chose iFly is that it is an indoor facility. Our original plan was to test the Gyrochute at a dam. However, the NSW region experienced heavy rain for weeks, and the dam where we were supposed to do our testing was flooding.
Thanks to iFly, we were able to conduct our testing despite the bad weather.
Our Testing Plan
Our testing plan is divided into two tasks:
1 - Anemometer Testing

Our first plan was to use the anemometer to measure speed and temperature at each marked zone for each tunnel speed.
2 - Gyrochute Testing
After the anemometer testing, we would do the Gyrochute testing.

Here is the breakdown of the planned Gyrochute testing procedure:
• Setup a 4ft tether with the carabiner
• Attach the hub to the wind tunnel grill using the tether
• Attach the Gyrochute blades to the hub inside the tunnel
• Slowly increase the speed
• Fine-tuning the speed
• Repeat steps if possible
Great. We have a plan. Now it’s time for us to execute the plan.
How It Went
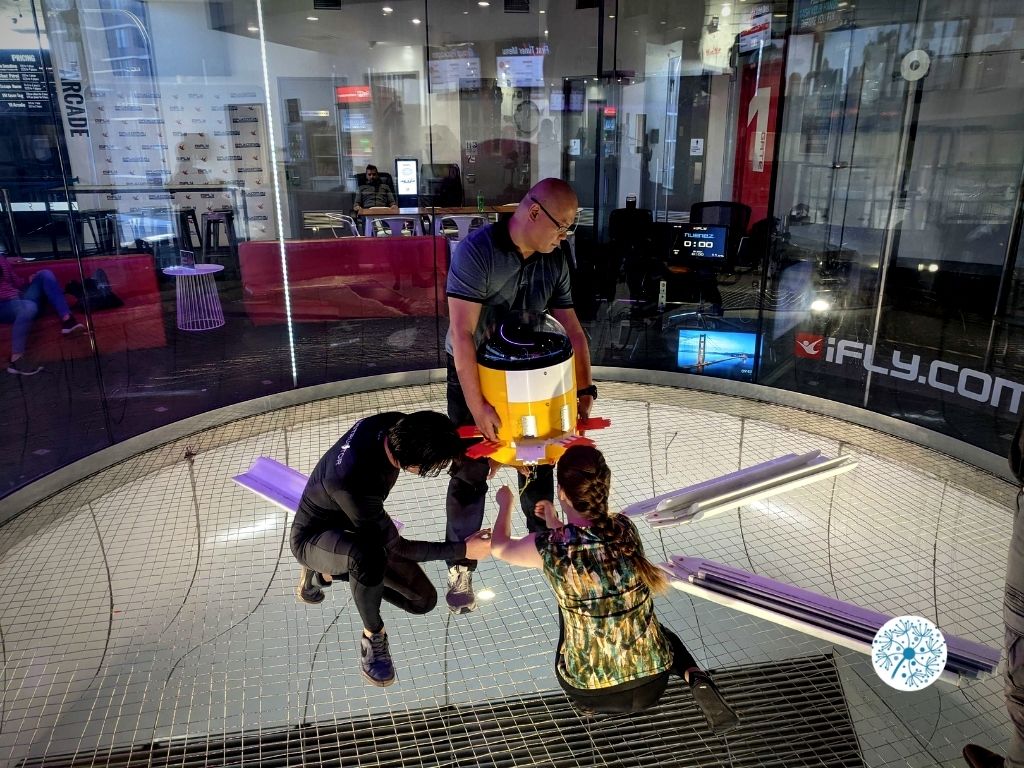
So, we did the first and second step, which is the anemometer test and Gyrochute assembly.

Everything was going well… until it didn’t.
Here’s what happened…
To begin with, the Gyrochute was not designed for the iFly testing environment.
IFly has a supporting mesh net on the bottom of their wind tunnel as a safety measurement. When weight is put, the net sort of sags a little. Therefore, under the weight of the Gyrochute, the sagging is just enough to cause the blades to touch the net. When the Gyrochute spins… Well, as you can guess, they snap from the hub.

As brilliant engineers, we fixed the problem with none other than the mighty duct tape.
So, we taped the wings and tried again.

This time, the Gyrochute spins successfully with the blades still attached.
However, we encountered another issue.
The Gyrochute was tethered to the mesh by using a carabiner, swivel hook, and a string.
We didn’t realise that the string would wrap around the carabiner… So, when the Gyrochute started spinning, the string instead coiled up into a ball around the carabiner, leaving the Gyrochute with no slack in the tether to take off.
Conclusion
In conclusion, we did validate that the Gyrochute will spin. However, we were not able to see it fly.
But, that’s alright.
Our team is currently working on designing some modifications to rectify the problems we encountered.
We are planning to perform another test at iFly in the coming weeks. Hopefully with a bit more success this time.
So, stay tuned for our latest updates!
We have also published a video about our Gyrochute test at iFly on YouTube. Watch the video here!
See you next time!


